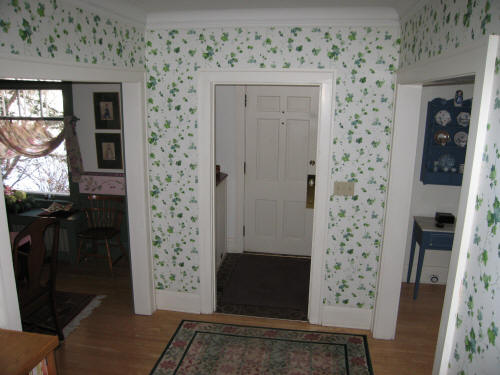
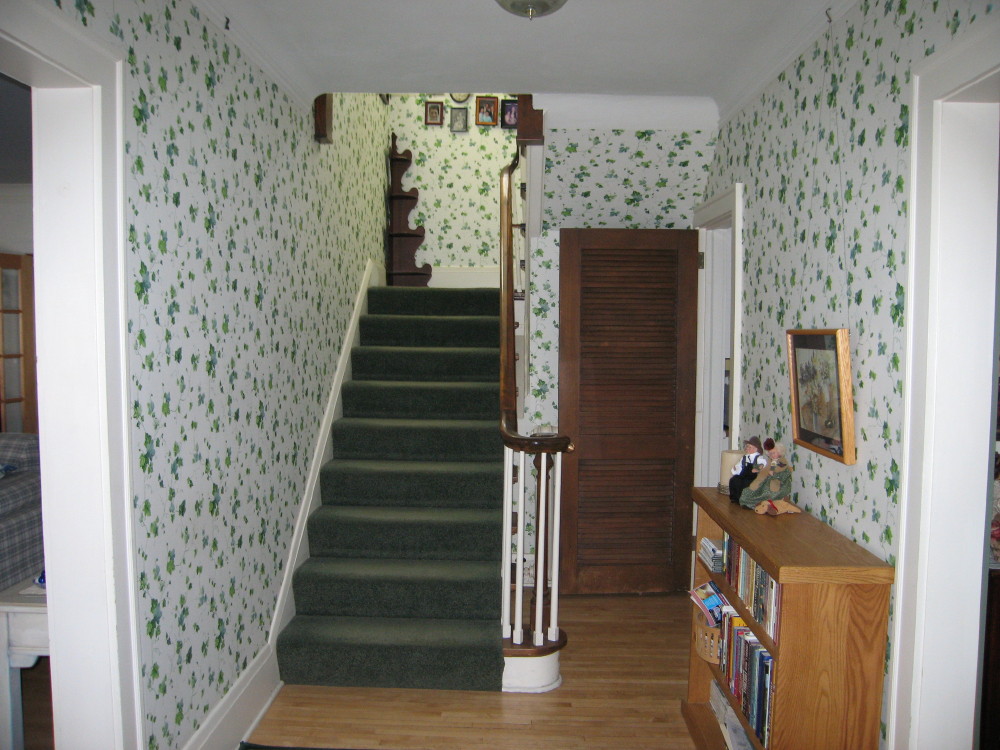
What you saw after entering from the front door
|
 Going upstairs
|
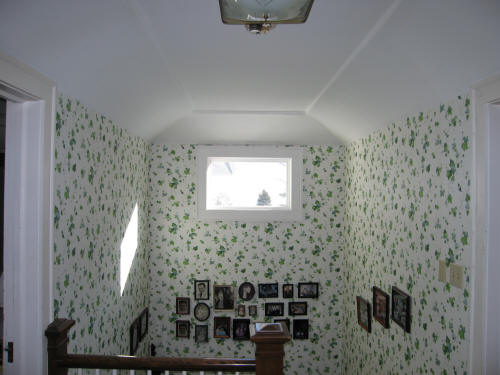
 The upstairs hallway
|
 Looking back
|
 Coming back downstairs
|
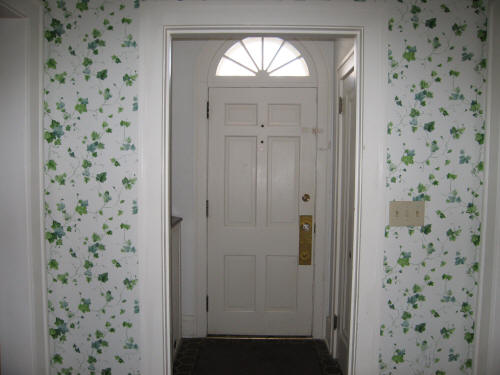 The little tiny entryway
|
Hallway renovation project -- February / March, 2009
|
What you saw after entering from the front door
|
Going upstairs
|
|
The upstairs hallway
|
Looking back
|
|
Coming back downstairs
|
The little tiny entryway
|
______________________________________________________
Now for the fun part
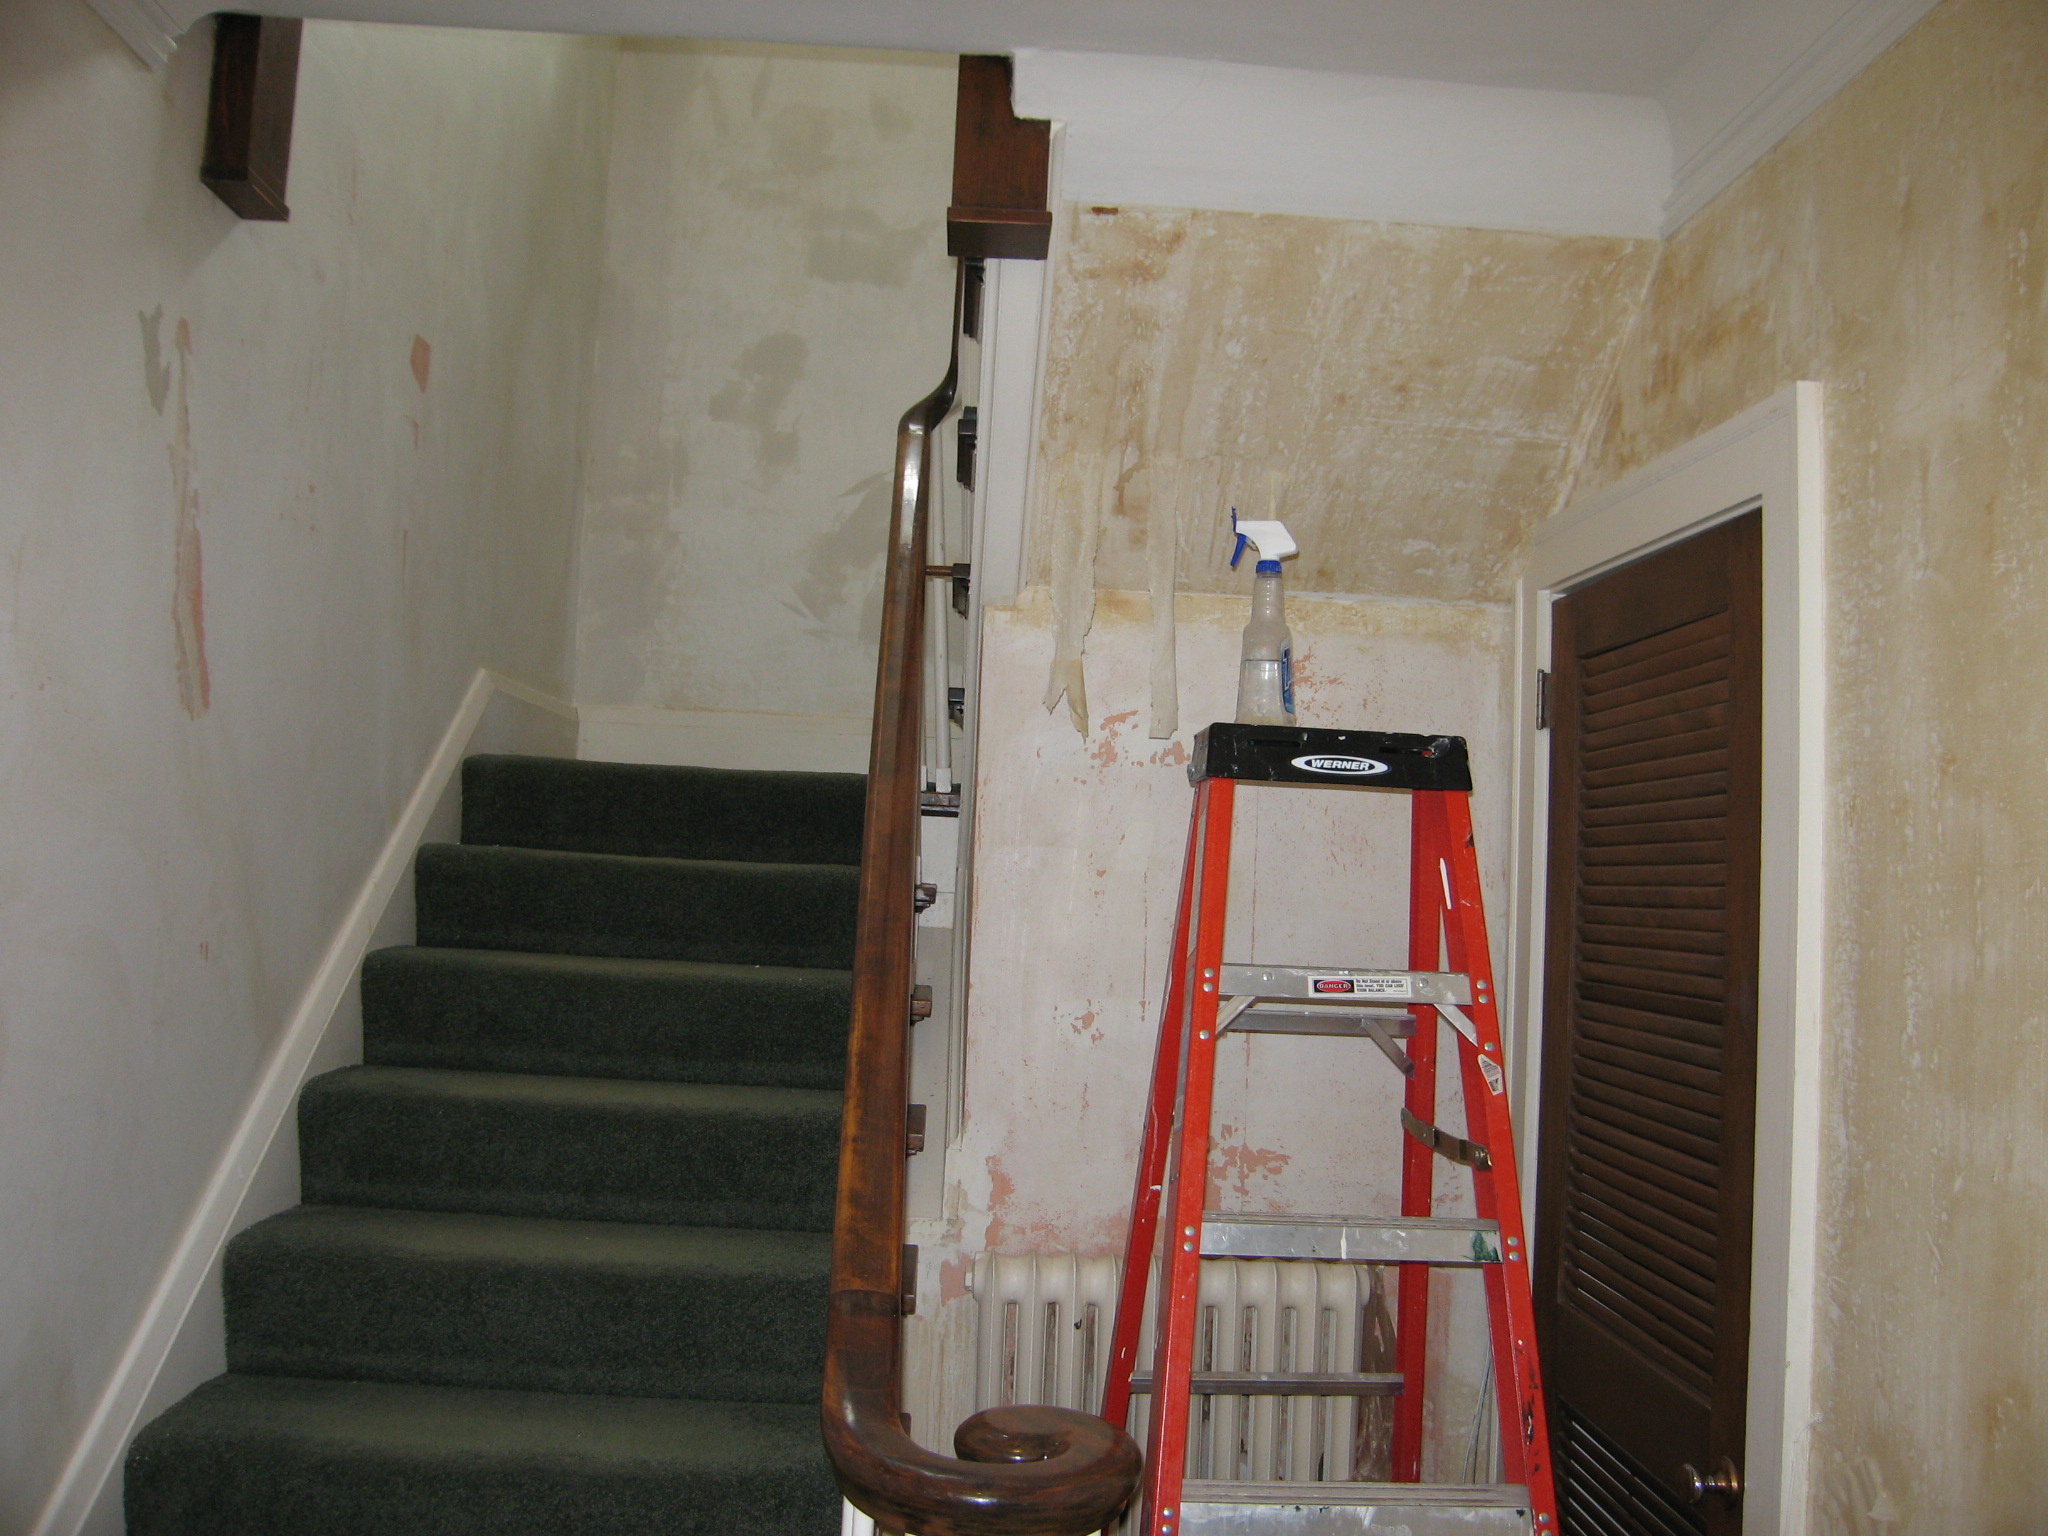
 The upstairs hall doesn't have that much wall space, so this was the easiest place to start. |
 I was able to pull a lot of the paper off without a ladder. |
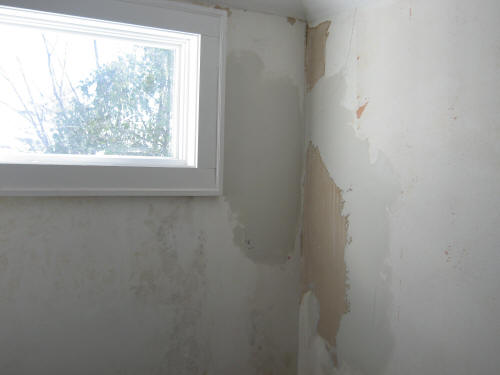
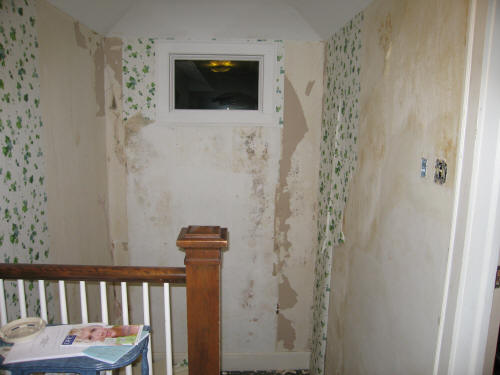
 It required ladders to finish the job. This back exterior wall was in the worst shape. |
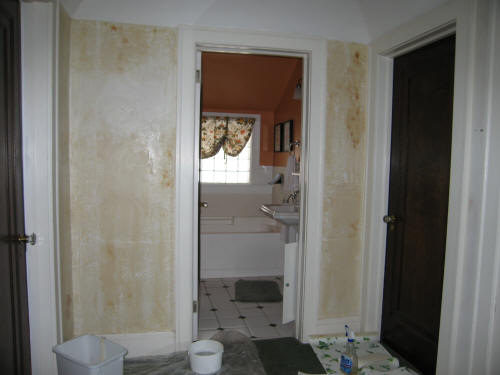
 The downstairs hall after much of the cleaning is done
|
 Apparently the hallway was once this color! This part was very hard to reach. |
 Under the stairs.
|
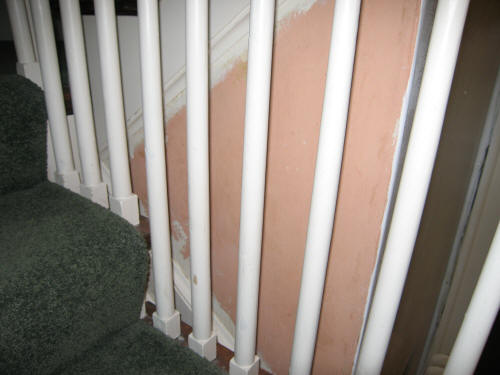
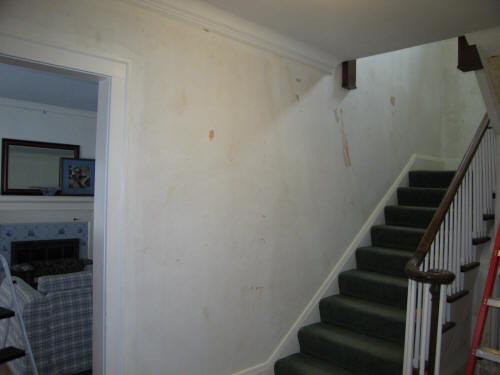 The left wall after the cleaning. Small bits of the coral-pink color show through. |
 We taped off the doorways before sanding the drywall patches.
|
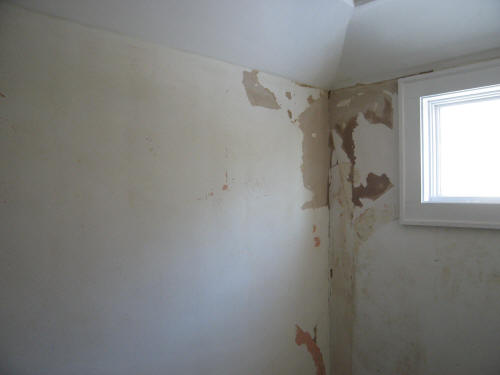 These high corners required the most plaster work. |
The brown areas are I believe the original texture finish without any paint. Some of the paint came off with the paper in big slabs. |
 After more patching and scrubbing.
|
Now to pick a color. I tried one
I had on hand, that I thought I'd like, Next I bought some more, but
that was too aqua (left wall). |
 After painting, some of the cracks still looked to obvious. |
 So I did some more patching over the paint. |
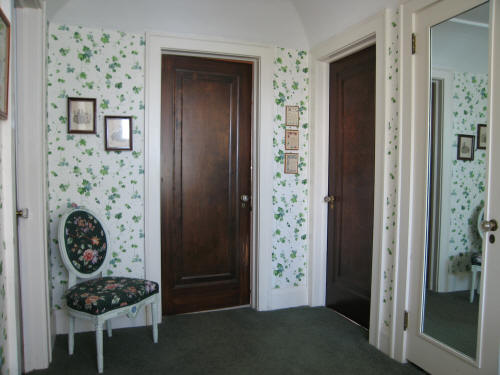
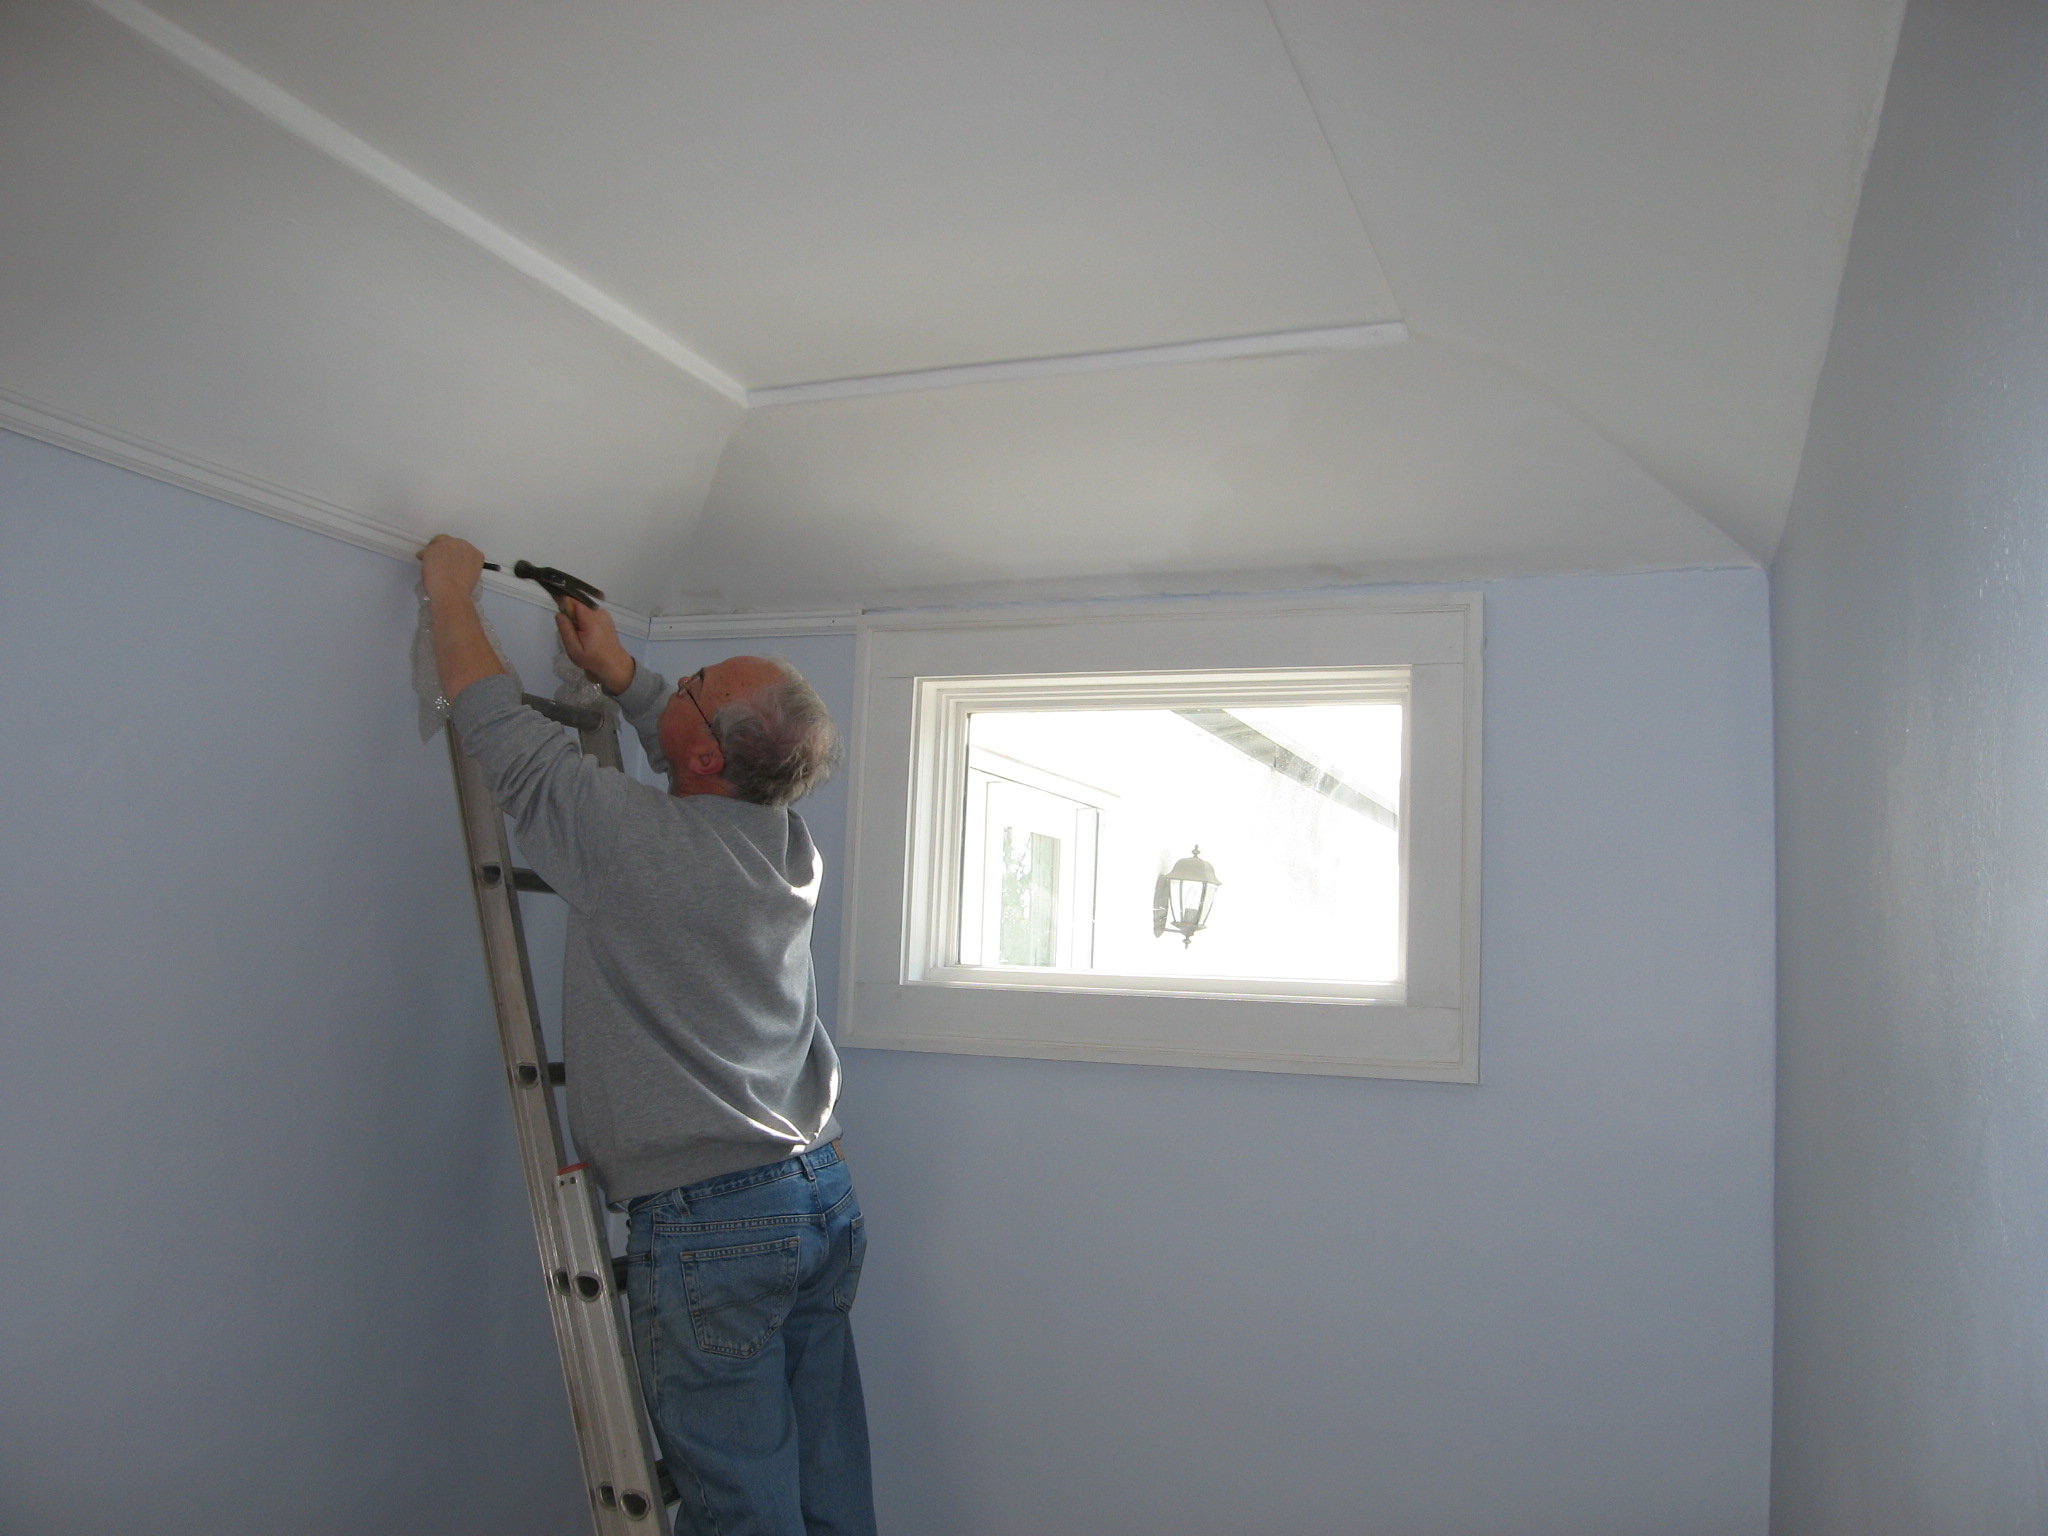 We decided to add picture rail, which is used in other parts of the house. We don't know why they didn't use it here. Maybe they did and it was removed. |
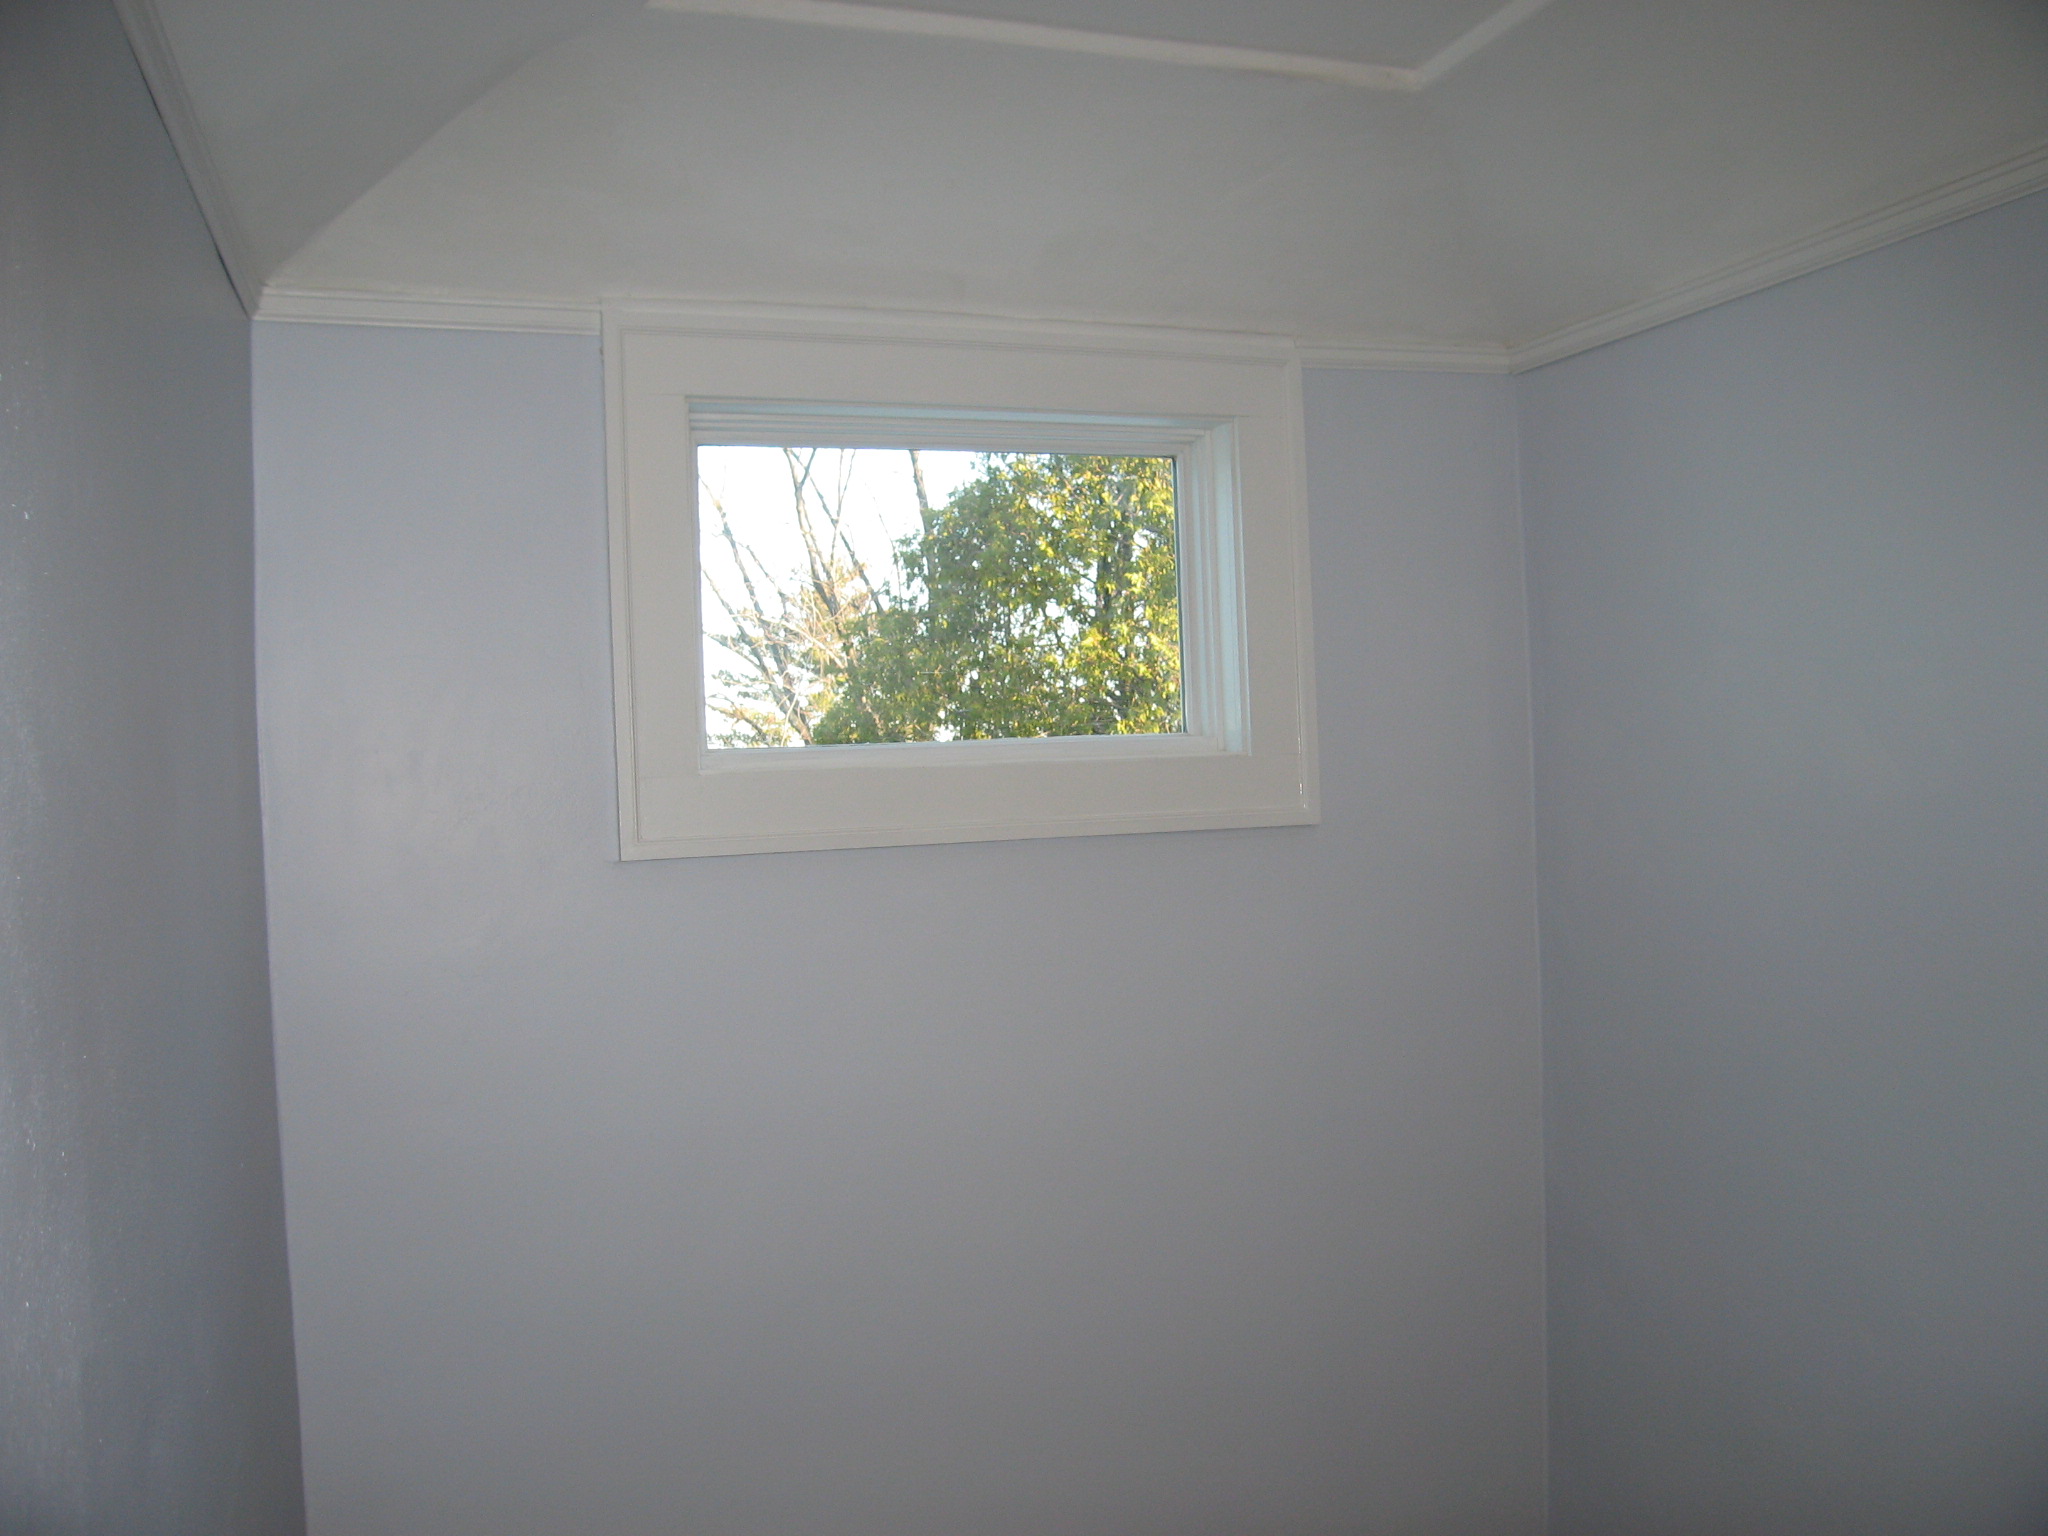 It's starting to look much better.
|
If you were paying attention in the photos above you may have noticed how much woodwork there is in this space. I was dreading doing the woodwork. I don't mind climbing ladders and patching plaster, sanding, mudding, painting walls, but woodwork is my nemesis. We hired a painter to do all the woodwork while I was out of town. While I was away his crew sanded and painted 15 doorframes, one window frame and 3 doors, all the baseboard, the stairway balusters and the trim around the stairway. Jim pulled up the carpet and removed the tack strips, staples and nails from the steps. In case you are trying to count them, I added two doorways, a closet door and a window in my bedroom that I hadn't finished when I did that project.
________________________________________________________
So when I got home we just had the floor upstairs and the steps to do. That's all.

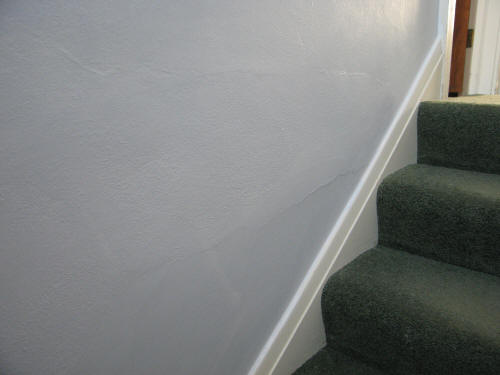
The green carpet went from the
wall on the left to the spindles on the right. |
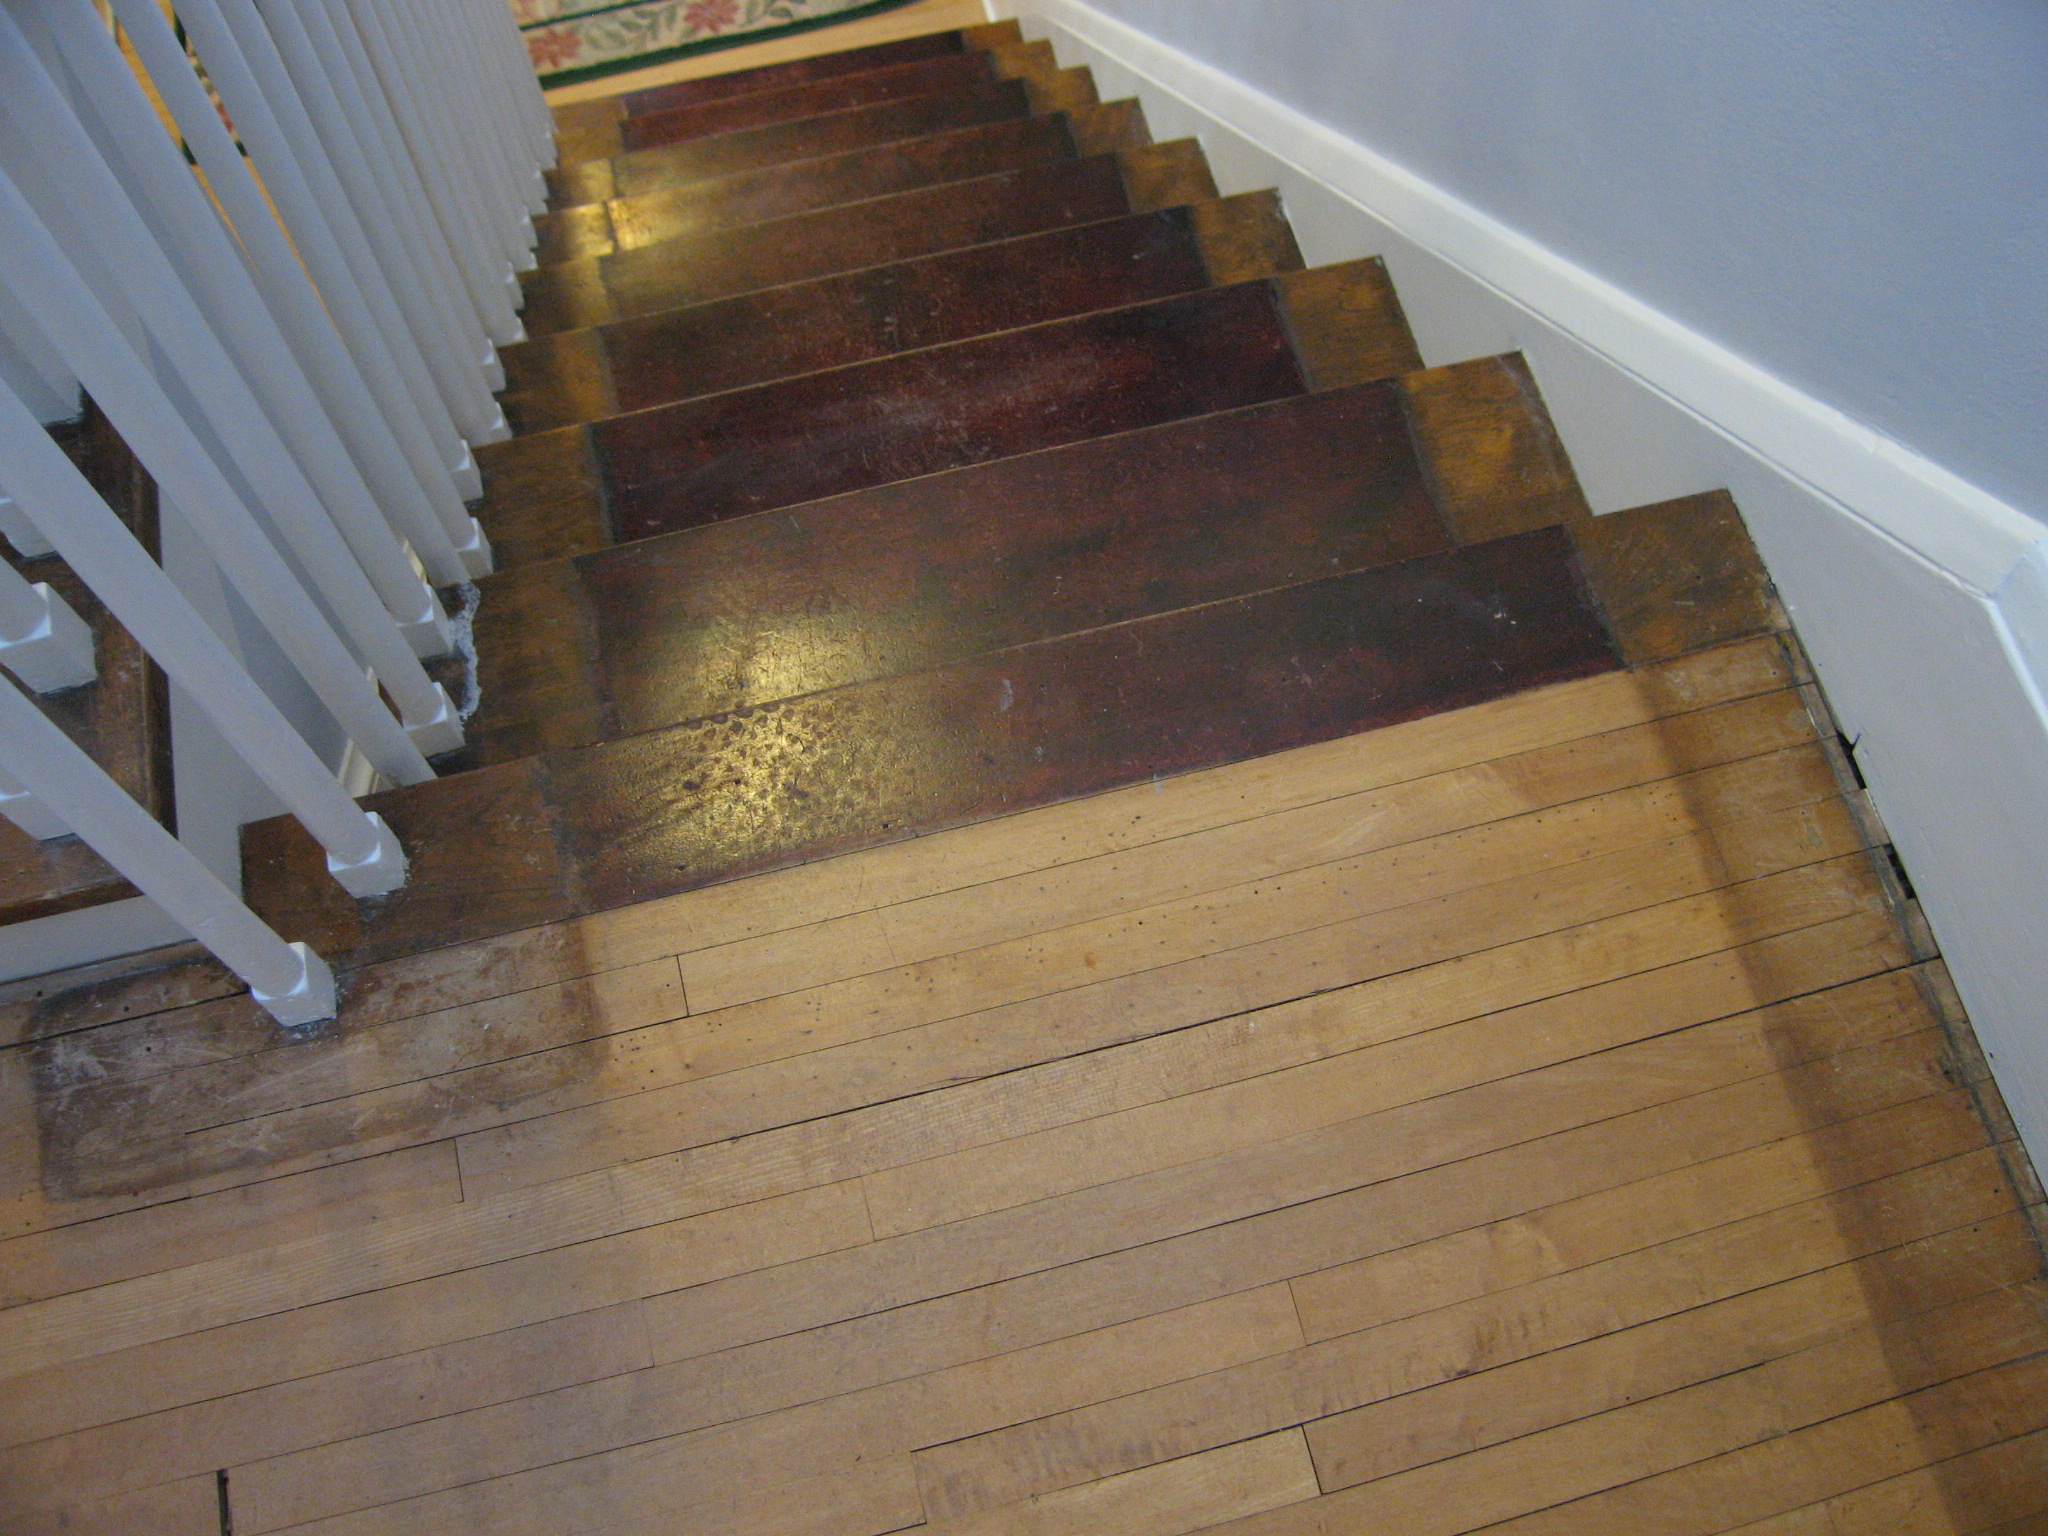 Looking down from the landing. Lots of different woods and stains. |
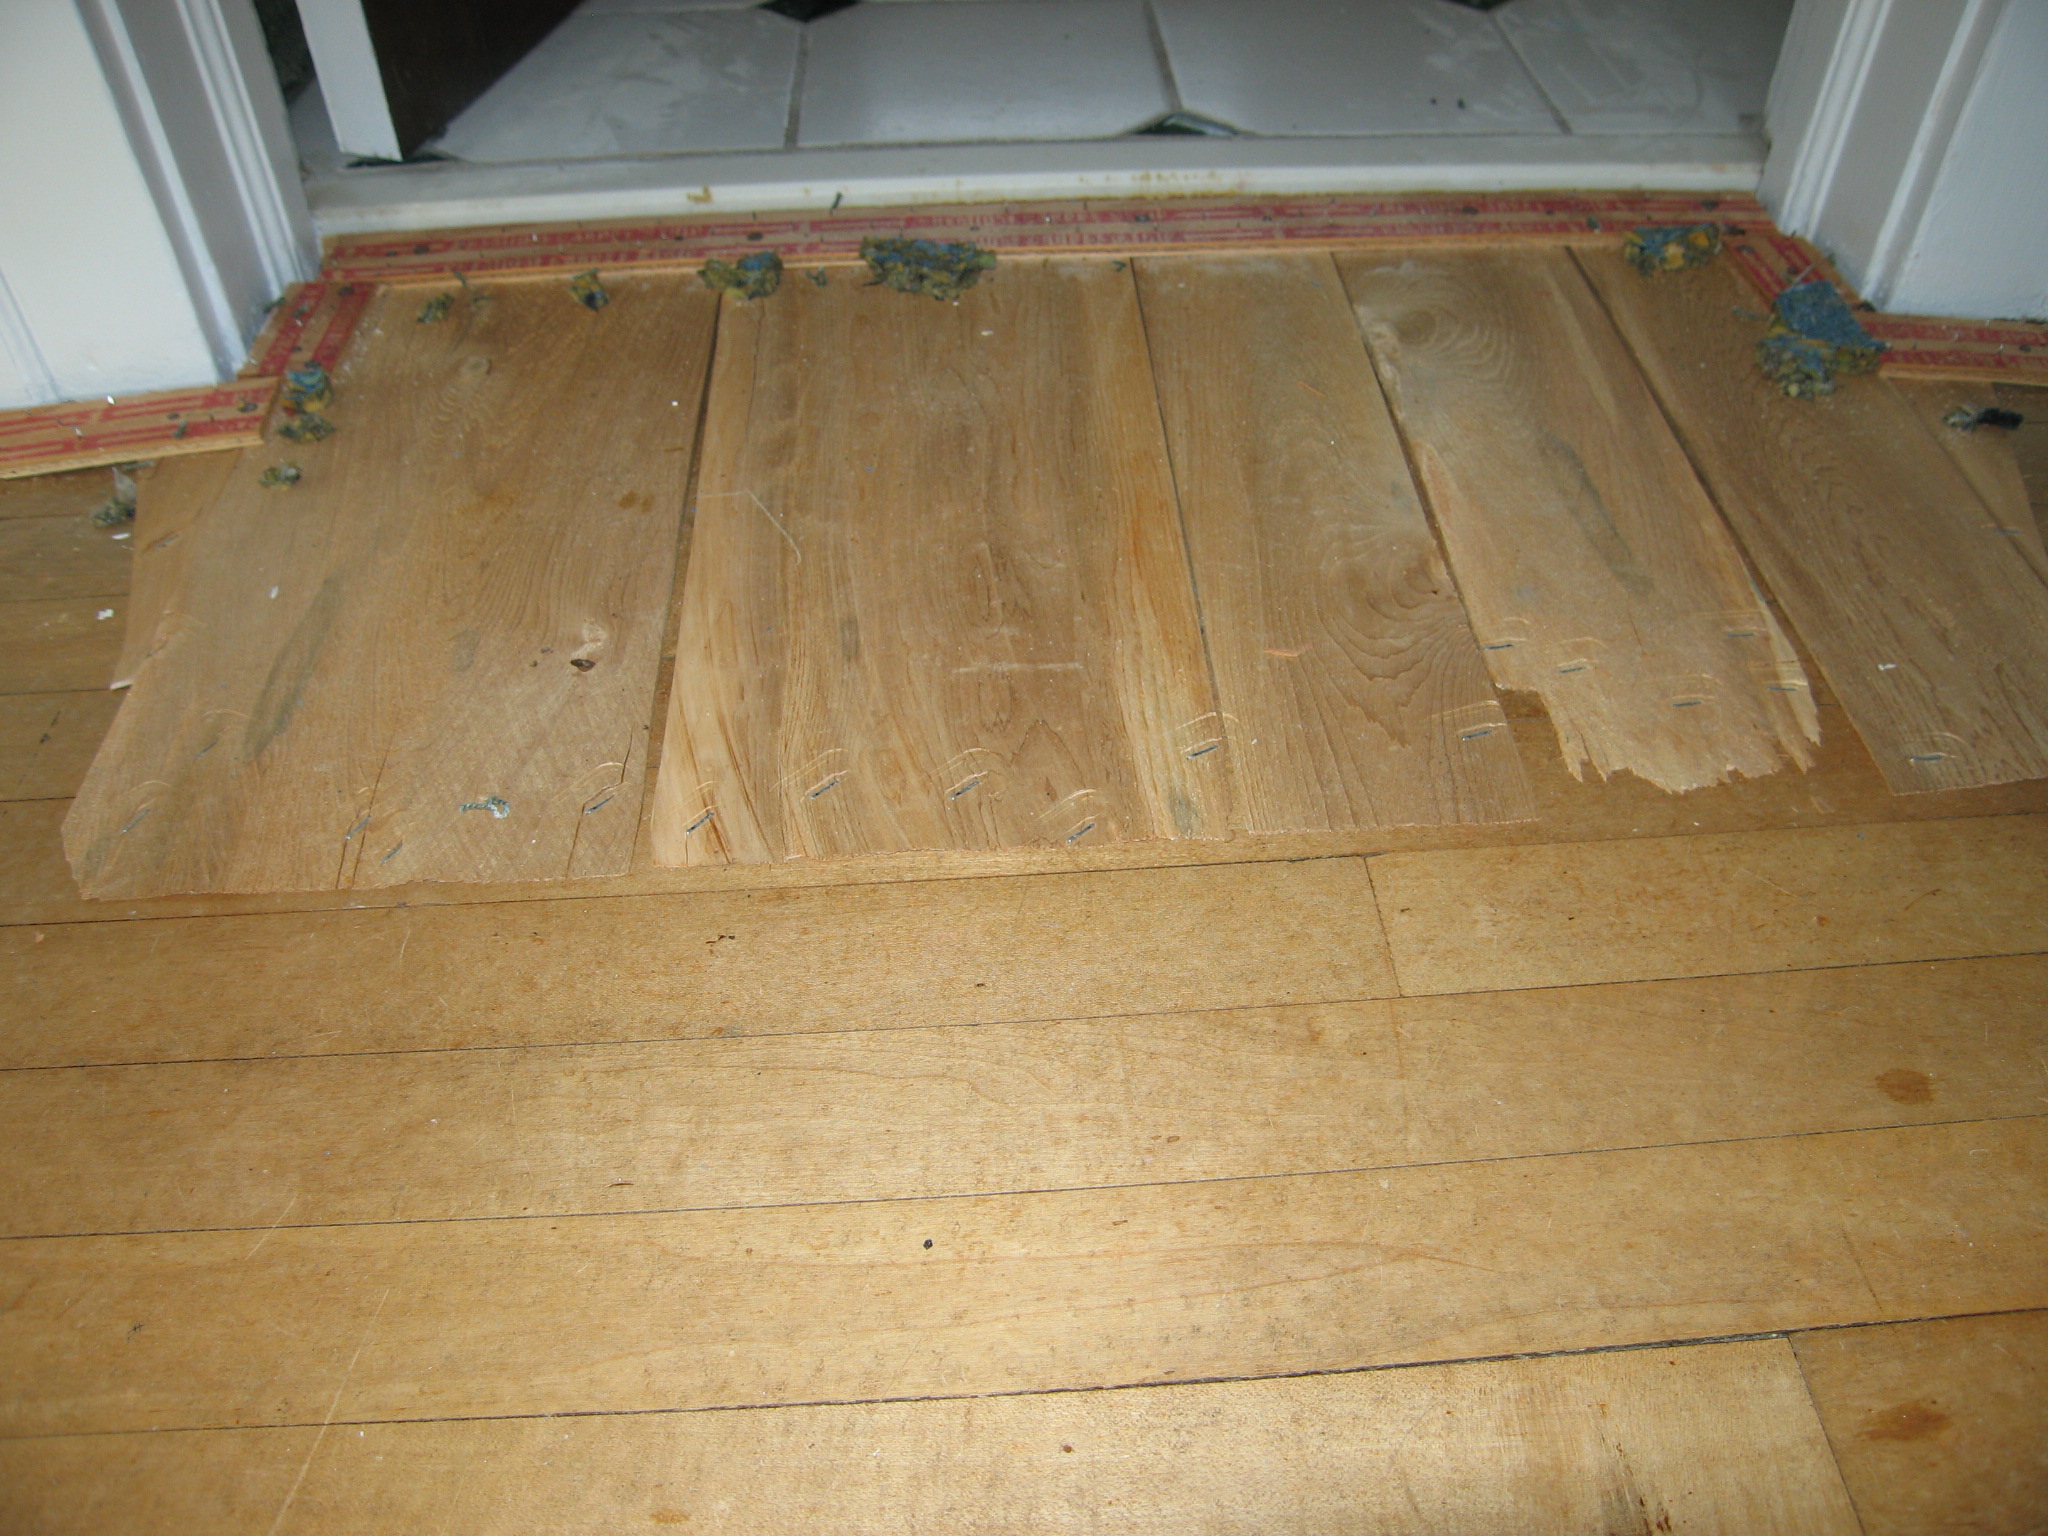
 The top step and the carpet pad still in place. |
 We found a big gap between two boards on the landing, but we were able to slide the board on the right to close up the gap. |
We think the bathroom and hallway
were redone at the same time. The bathroom floor has radiant heat in
hot water pipes under the tiles, |
 We removed the ramp, which left a little step and a rough edge. |
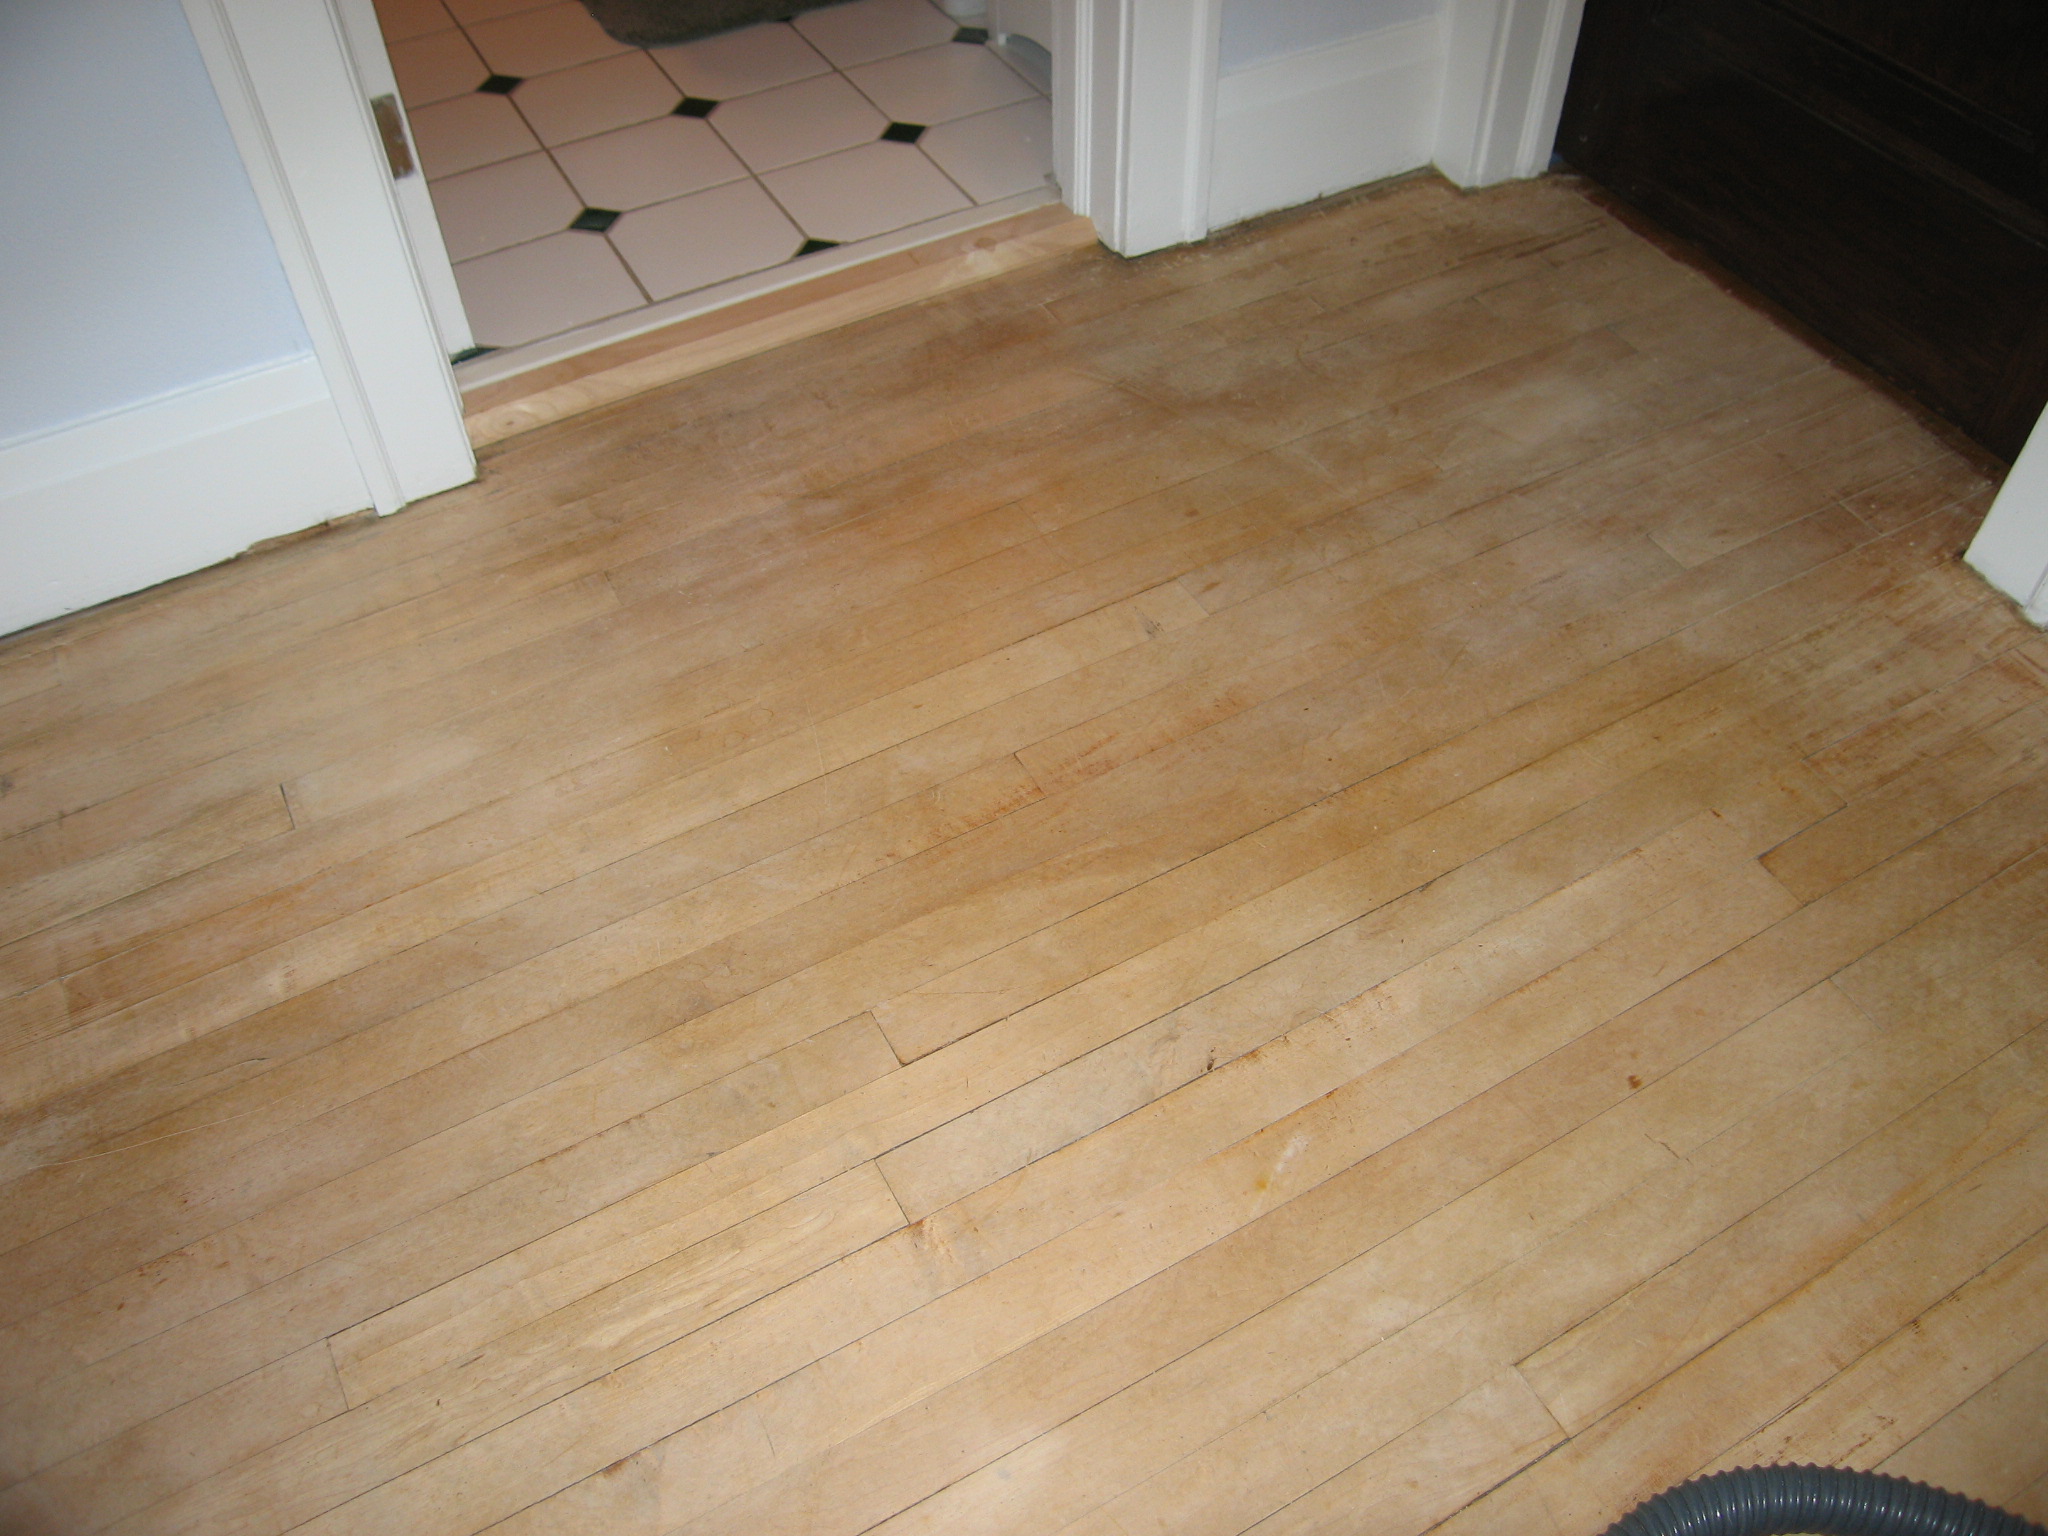 We bought a wooden threshold and cut it to fit. Here the floor is ready to refinish. We used a clear polyurethane on it, which made it match the other floors pretty well. |
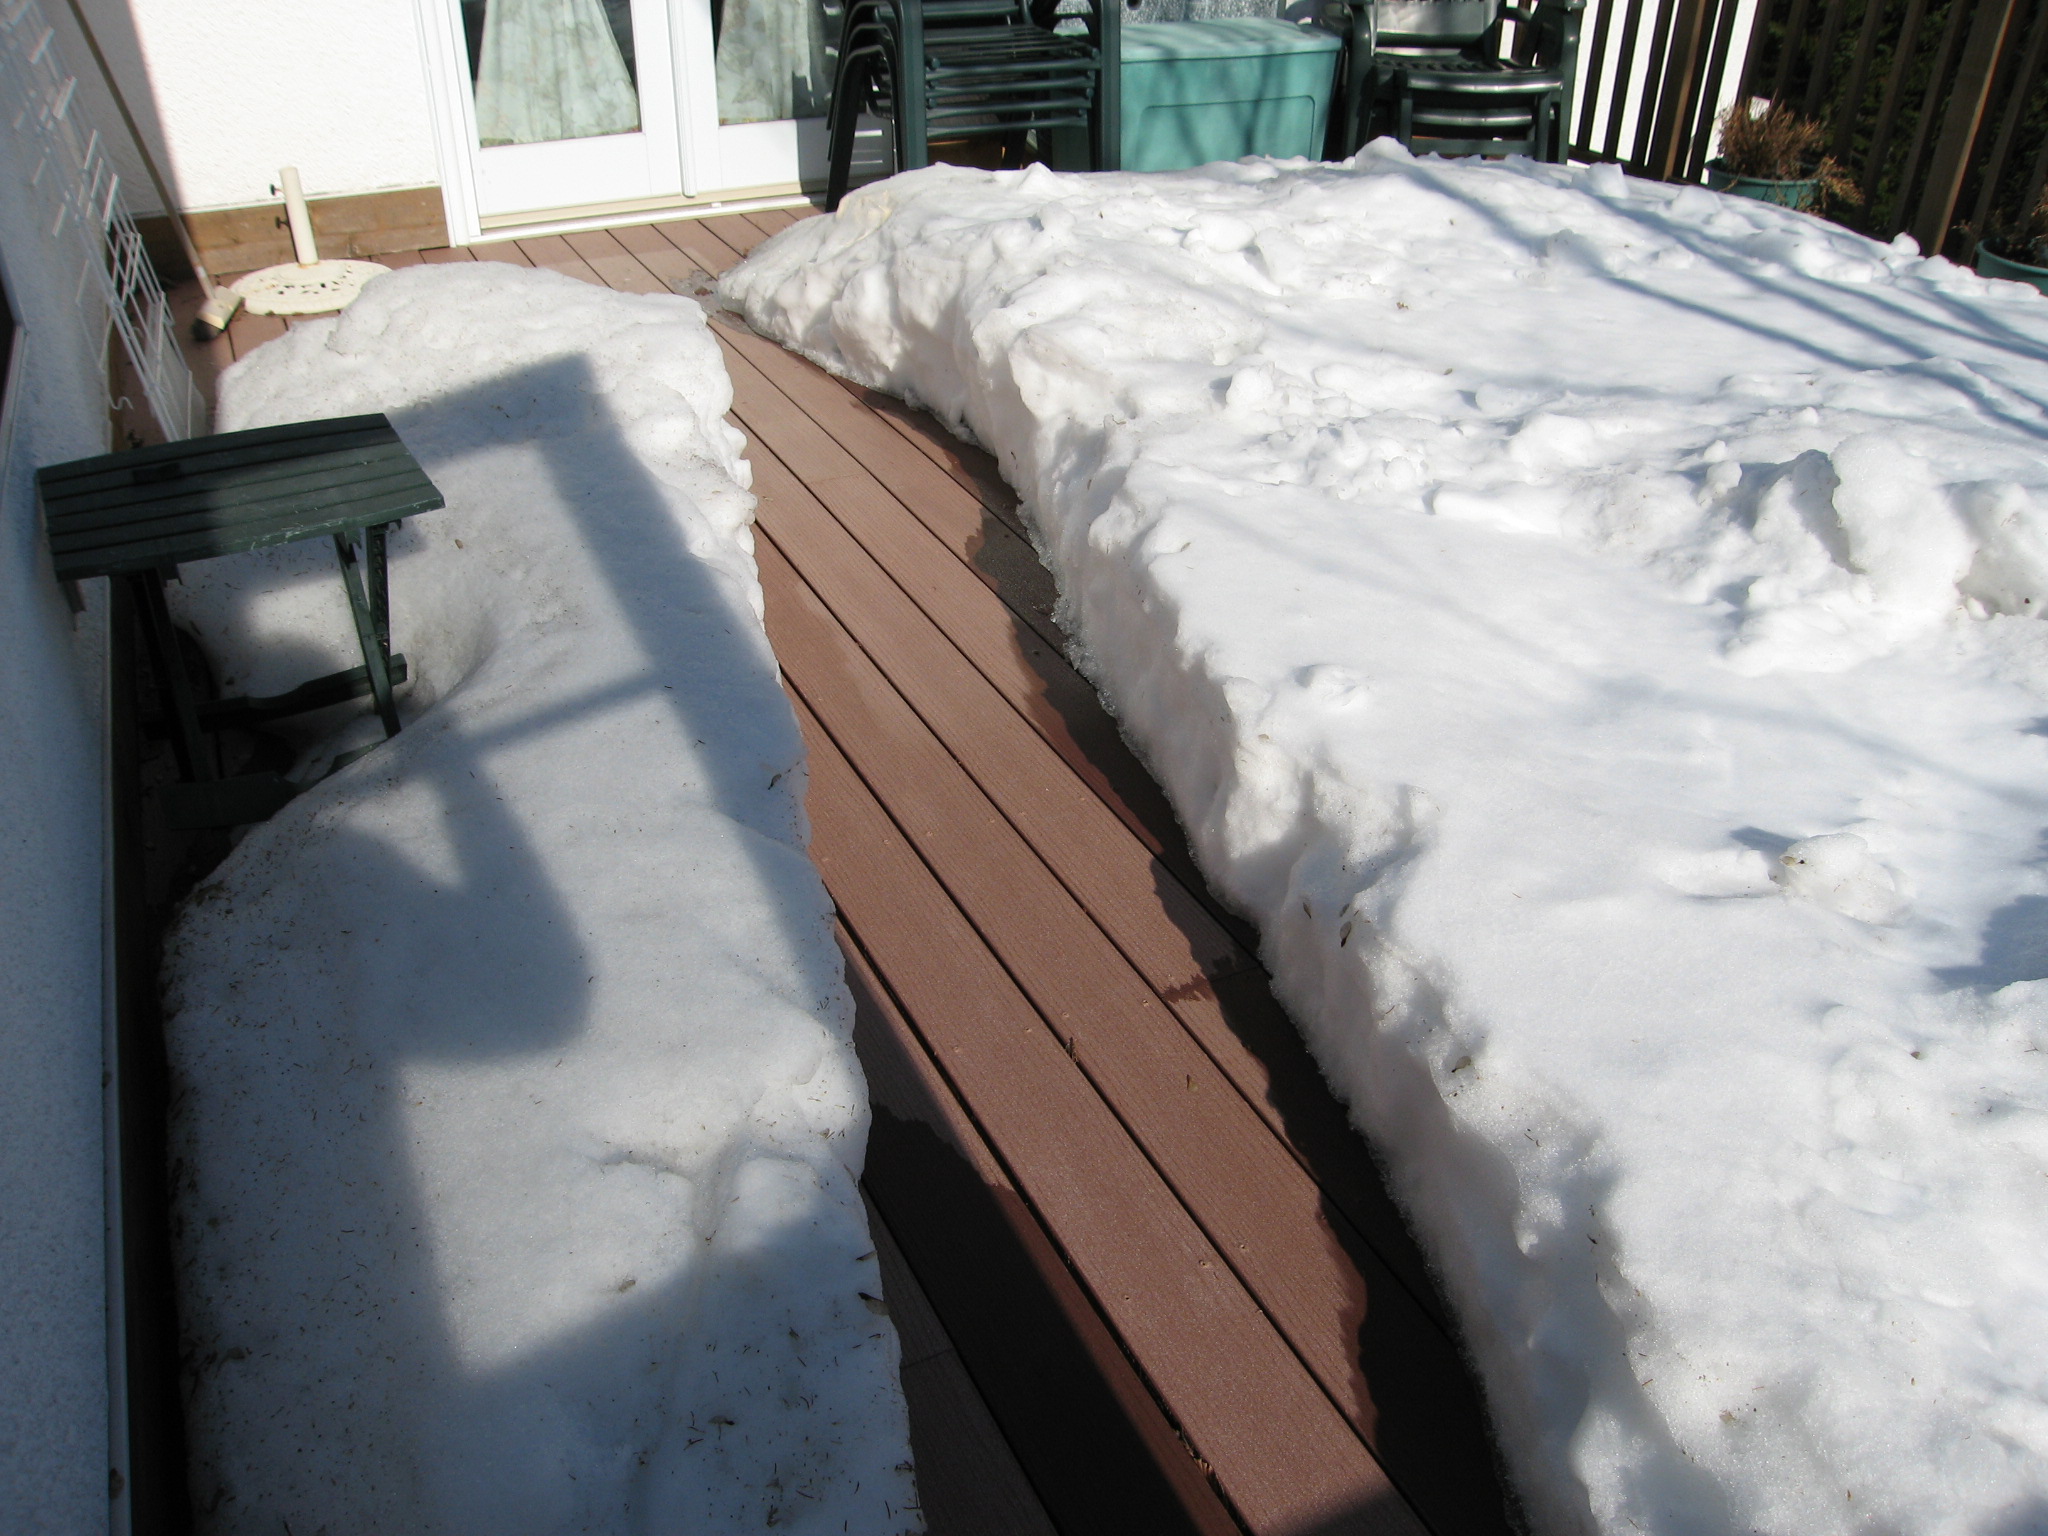
We used the deck to get from the
study to our bedroom and bathroom, while we waited for the
polyurethane in the upstairs hallway to dry. |
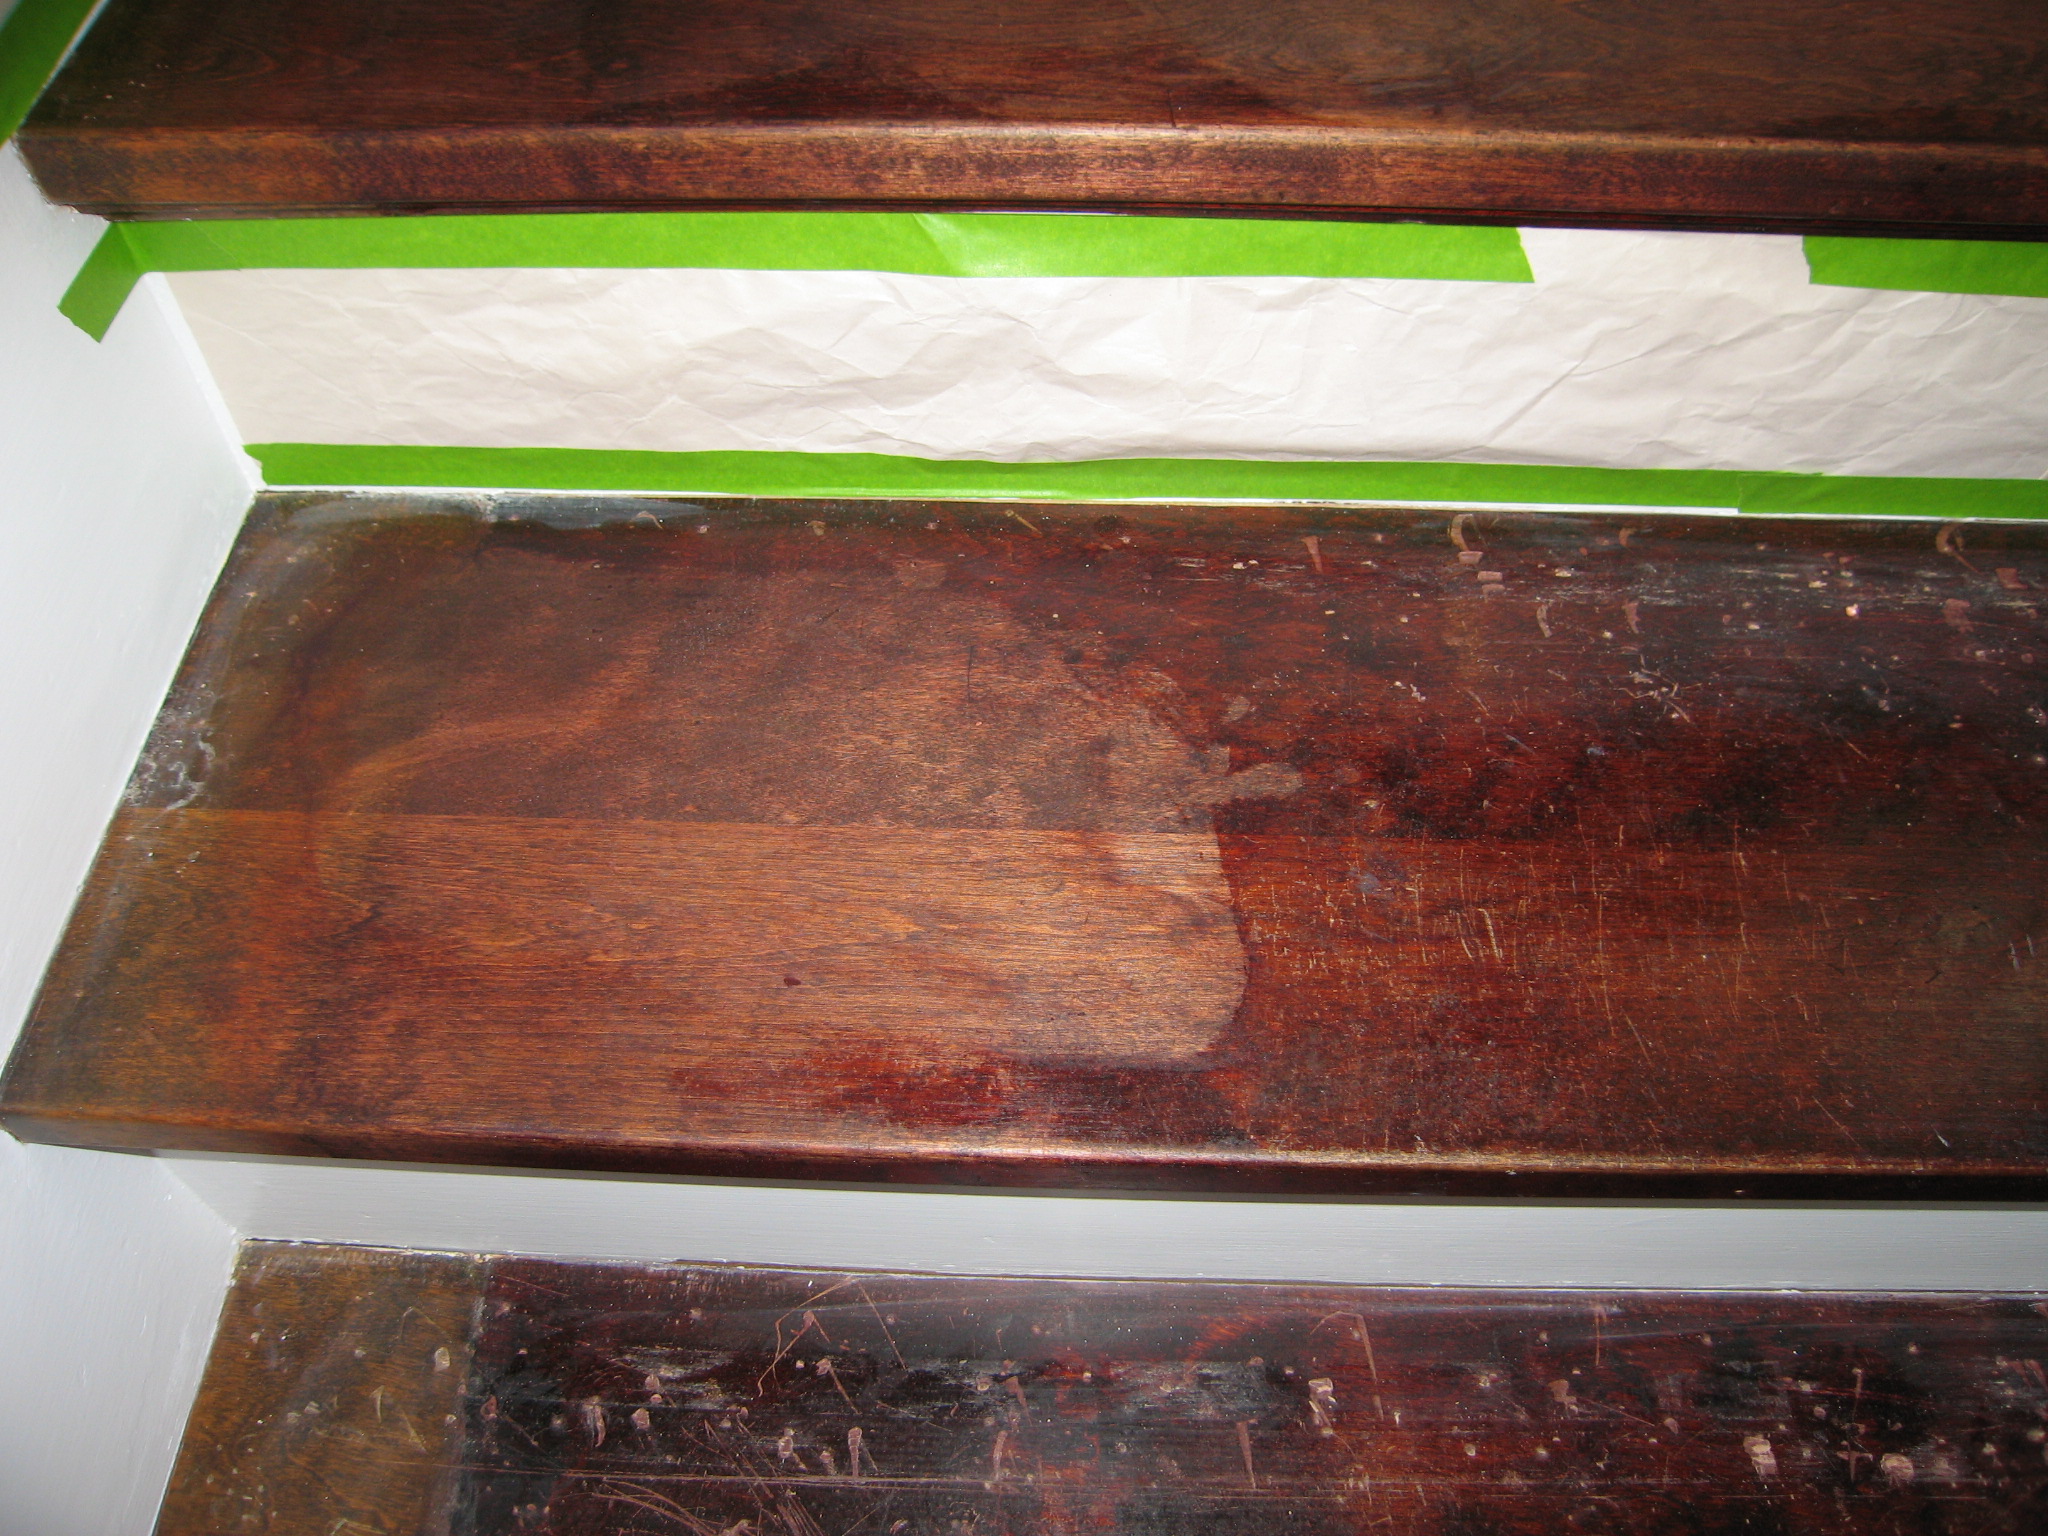 In this photo the top step has been partially stripped, the middle one, I'm working on and I haven't started with the lower one. After this I stained them and then top-coated with Polyurethane. |
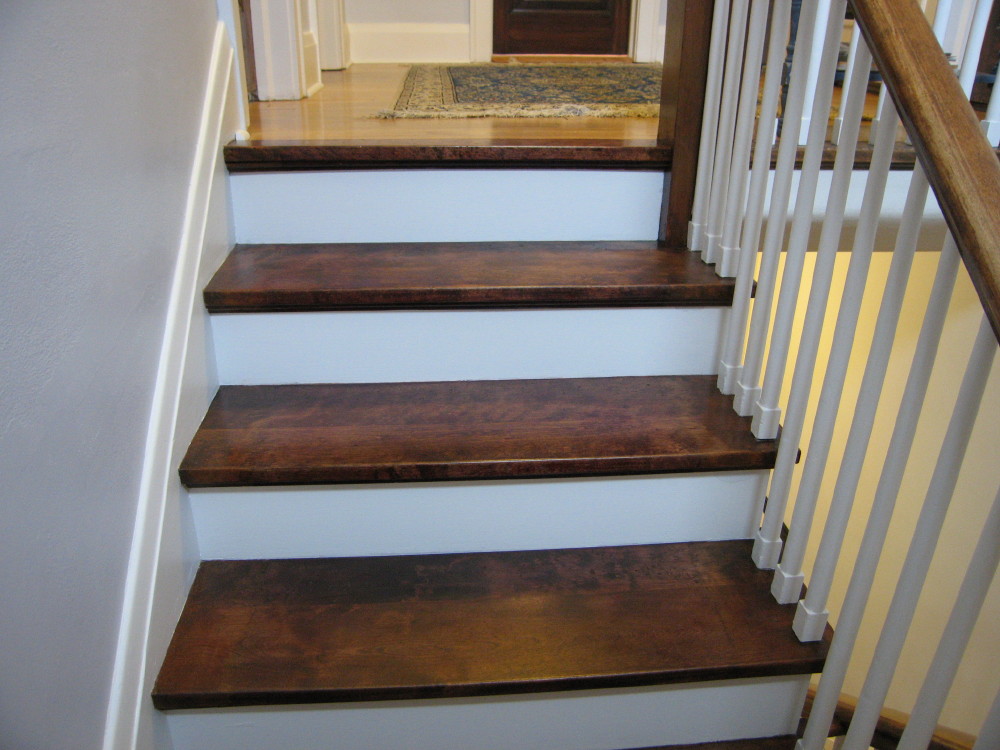 Here are the same steps after the stain and polyurethane. |
__________________________________
And finally the 'after' shots
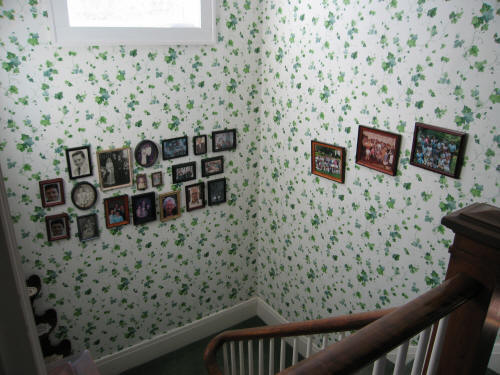
The bare walls needed artwork. I used photos, paintings, prints and posters that I had on hand.
 The upstairs hall - That blue shelf is finally the right color for this space. |
 Two wedding pictures - my parents and us and 2 water colors of Prague and Vienna |
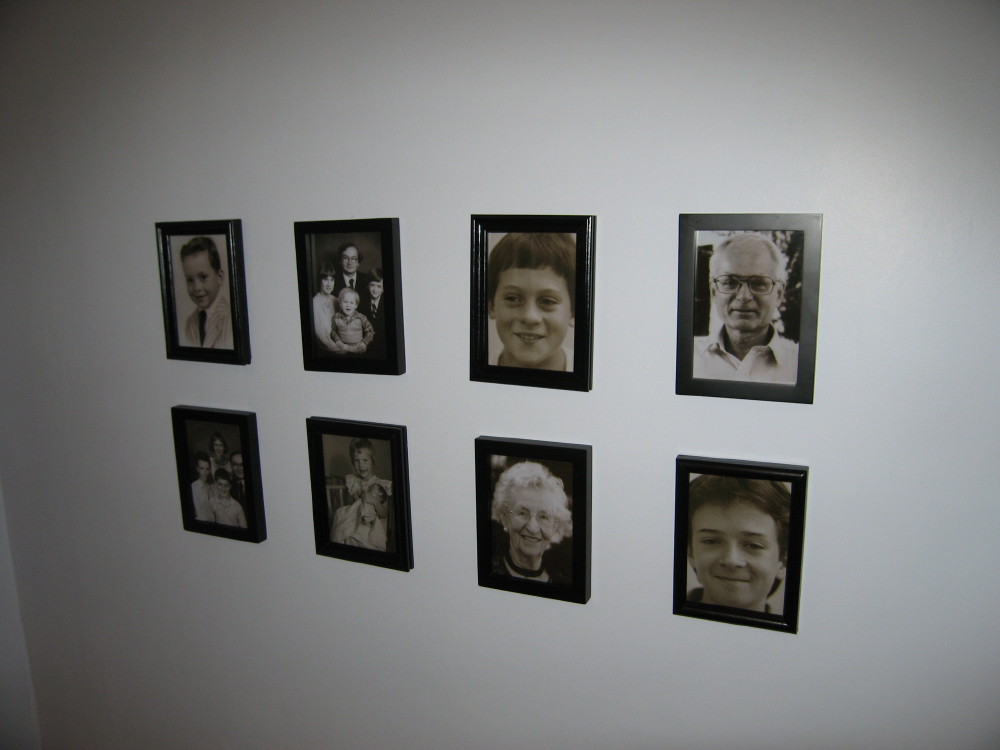 I scanned and reprinted some of these in black and white. They were all on the wall before, but with other pictures. |
 Four Stanley family reunion photos: the first is from 28 years ago; James is about 1 in that one. The last is from 2007. |
 Jim's mother, her 10 children and 8 in-laws and below; my mother, children and grandchildren. |
 We brought the carpet from the living room up here, but it will probably go back downstairs. We'll look for a new one for here. |
 Poster given us by the artist, John David Mooney of Chicago |
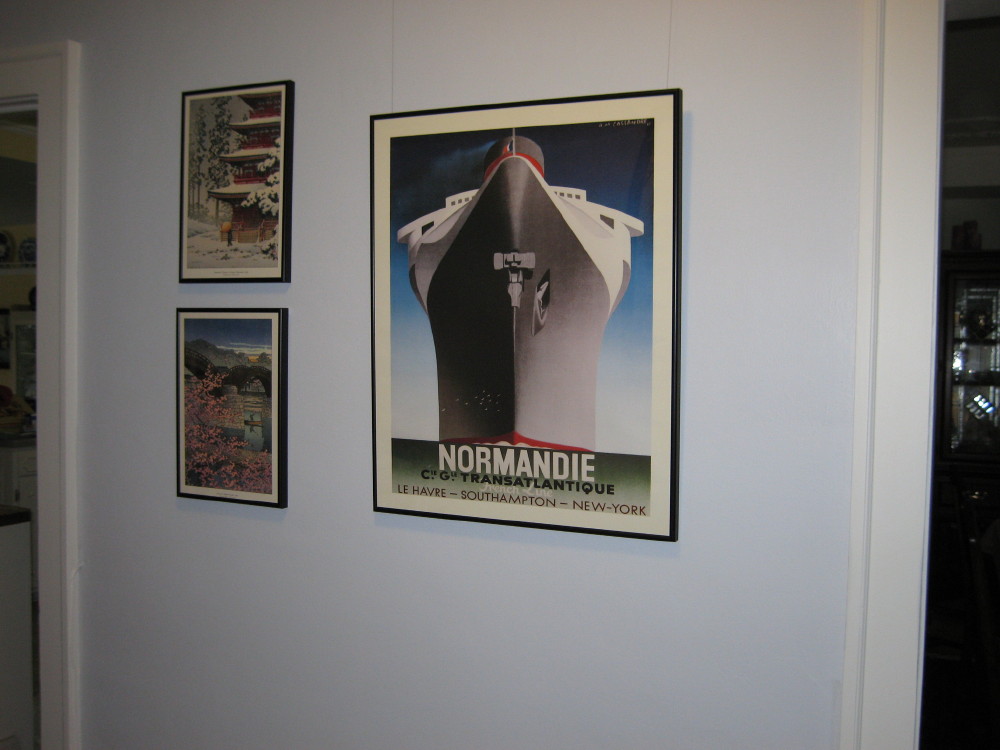 Prints from a Japanese calendar and another poster. |
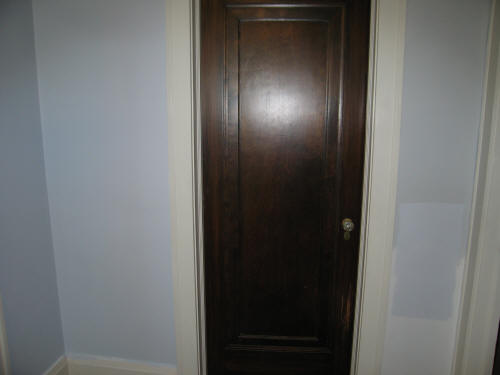
So here's the before and after of the downstairs hall. Hover your mouse over the picture to see the after.
We took that wooden door down and I restained it. The bookshelf was always just a little too wide for this space, so we moved it into the living room.